Blog (shortened from the word “Weblog”) is log or diary of information. The term weblog was coined in 1997 and it was shortened to blog in the year 1999. Ever since then people use the word Blog more than Weblog as it became more popular and frequently used.
There are 6.7 million people blog on blogging sites and 12 million people blog via social networks. Blogs are used widely for self-expression and to communicate with the outside audience on various topics. It can be written by a single person or as a team.
Moodle LMS has also the feature of publishing the blog on its own website. Each user can create the blog and share it with the rest. It has also the option to register their external blogs such as Blogger or WordPress so that entries are automatically included in Moodle Blog.
Let’s see what are the powers of Students and Teacher in Moodle blogs :
For teacher :
• The teacher can edit the blogs.
• The teacher can add the blog “Blog Menu” (This blog menu block provides the option for a user to associate blogs with a course or resource/activity within a course).
• The teacher cannot control whether the student can write the blog or not, this is controlled only at the administrator level.
• The teacher can see the saved drafts in Moodle LMS and she can edit the drafts.
For Student :
• The student can write, edit and publish the blogs.
• All the users(Student & Teacher) can comment on blogs.
• Students can save the blog as the draft.
I will guide you on how to add the blog in Moodle LMS:
Step 1 : Blogs are enabled by default in Moodle LMS. The Admin can either enable or disable this option by going to Administration (Located on the top right corner in the main page)-> Site Administration -> Advanced features.

Step 2 : In Advance Features, you can see the option of Enable Blogs, click on the tick mark to enable or disable the blogs.

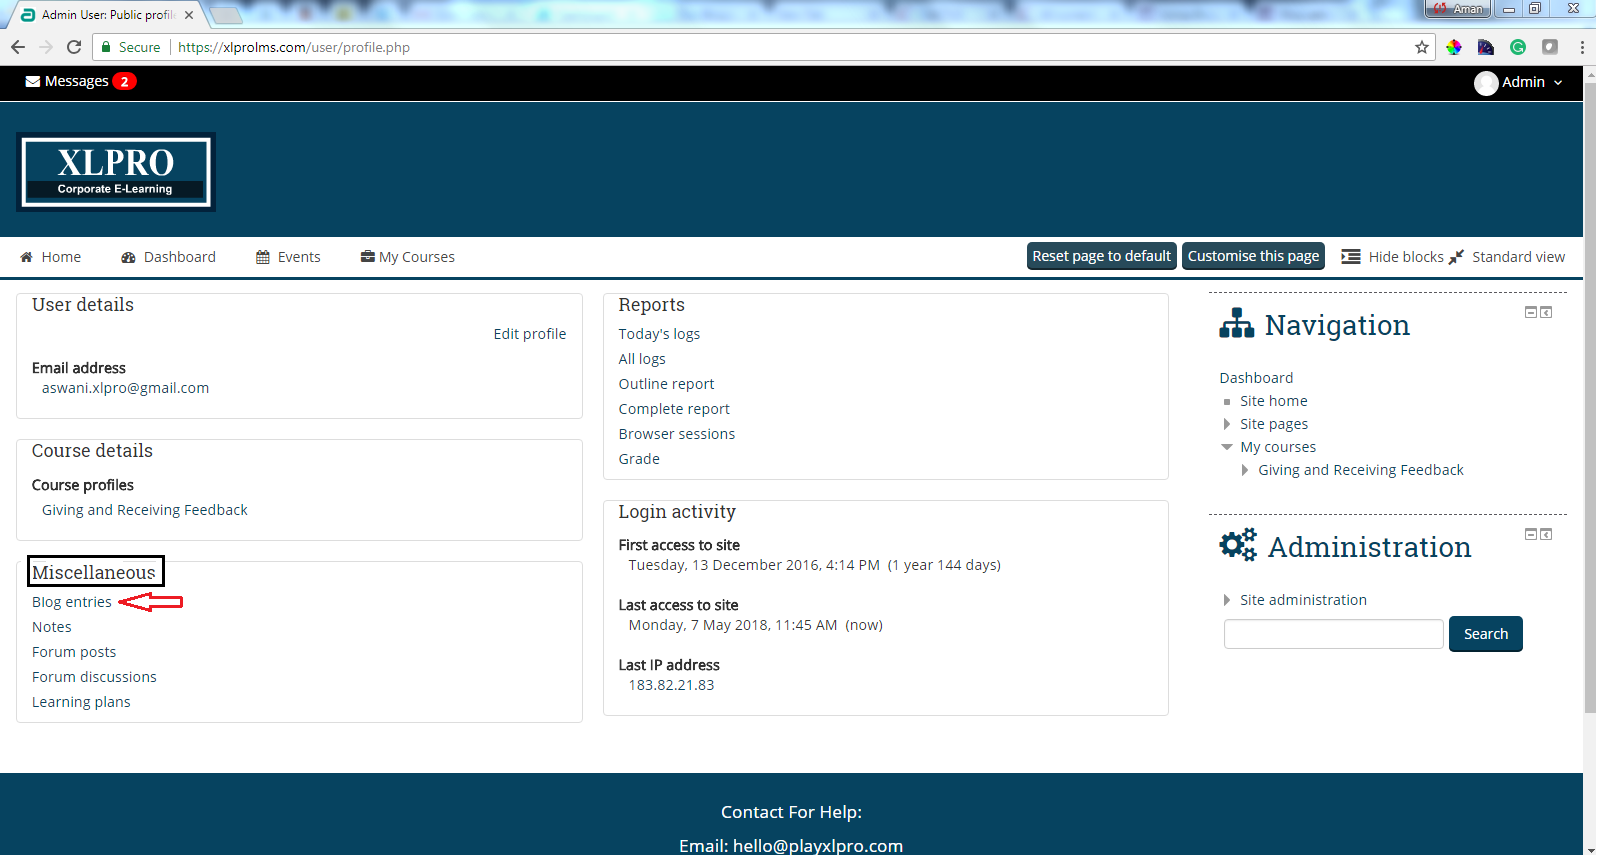
Step 3 : Click on Admin Menu, which you can find on the top right corner, you will get a drop-down select “View Profile” option.

Step 4 : Under “Miscellaneous” option, click on “Blog Entries”.
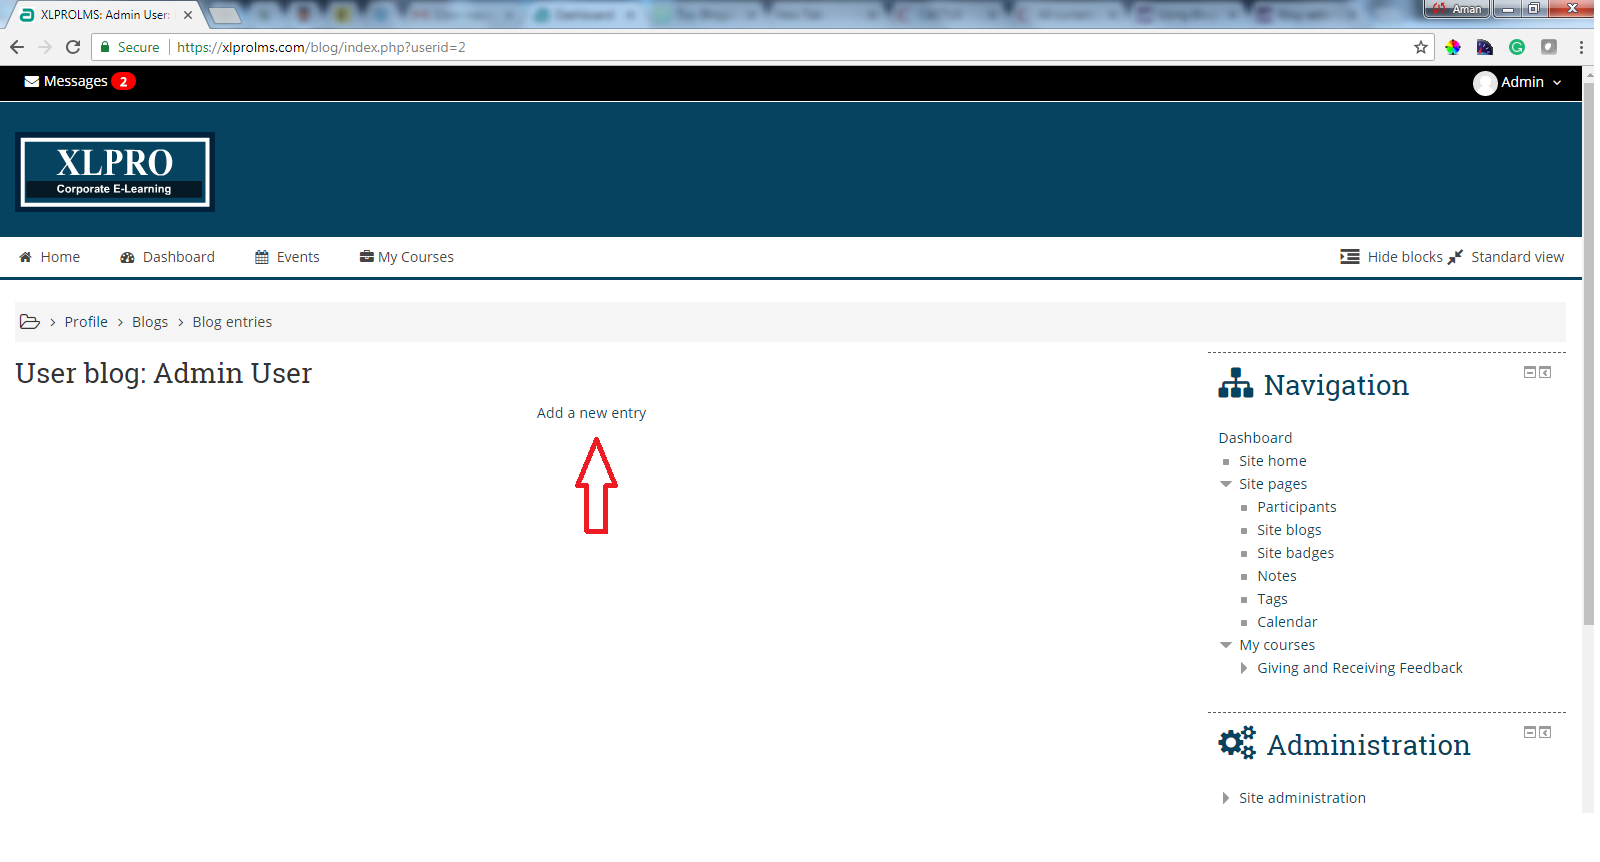
Step 5 : You will land on the page, as shown above, click on “Add a new entry” in order to add the blog.
Step 6 : Write the content, description and give your blog a title.
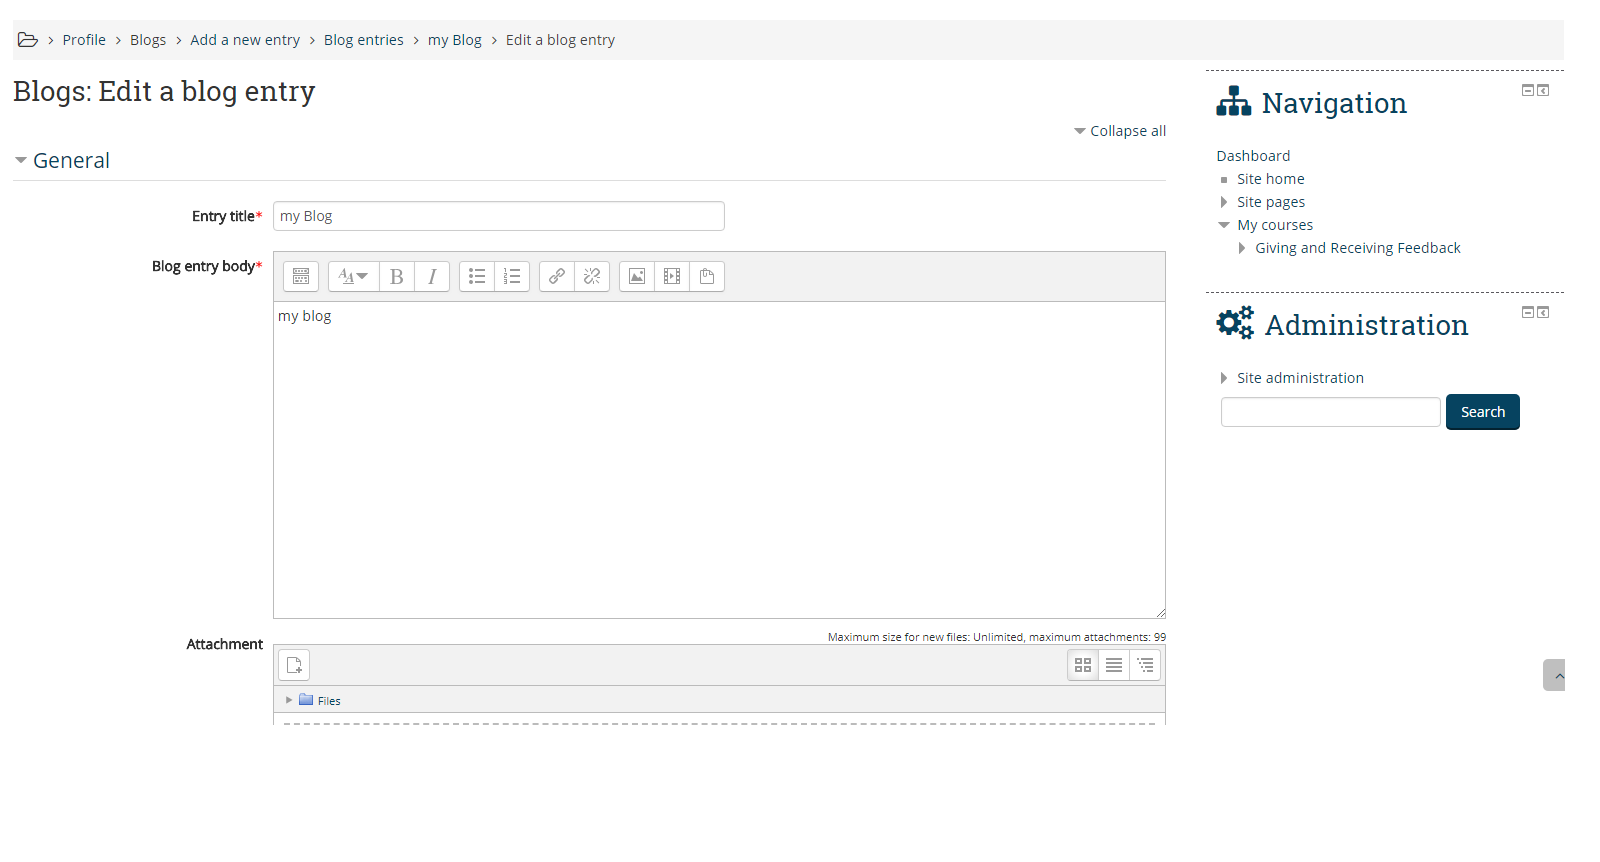
Step 7 :
In order to attach a file, click on “Attachment” button access to include the file. You have to make sure that the document is smaller than the maximum attachment size, also you can drag and drop the file into the box.
After adding the files, choose to whom you want to publish.
You can find three options :
• Yourself (Blog Draft)
• Anyone on your site
• Anyone in the world
Select the appropriate official tags for your entry or add more user-defined tags.
Click on the “Save Changes” button in order to save the blog.

Step 8 :
After saving the changes you can see the blog published on the Moodle page, here either you can edit the blog or give Permalink of the blog to others.
Edit the blog: You can edit the blog entry anytime and change the publish option from yourself to anyone on the website. You can also delete the blog by clicking on “Delete” option.
Permalink: It gives you a direct link to the blog so that you can share it with someone else.

I hope with my blog you will be able to understand the functionality of Moodle Blog and how to add a blog into Moodle LMS. Still having questions in mind feel free to contact me at hello@playxlpro.com